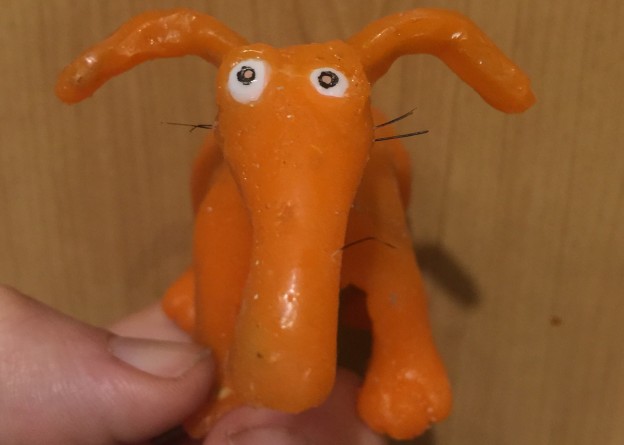
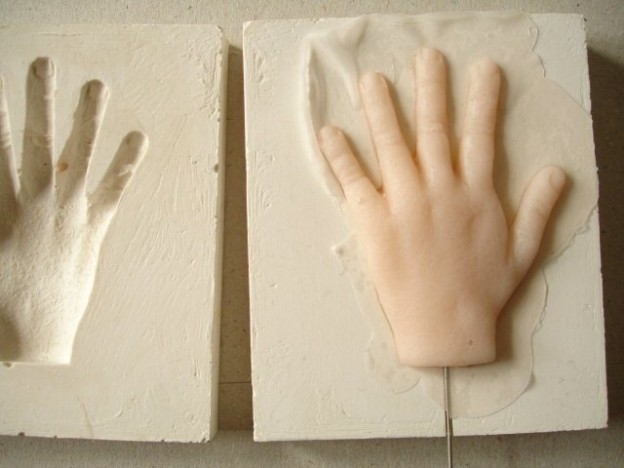
Since my last post I have managed to track down and purchase more materials such as Chavant clay and Toluene (A paint thinner that also works on silicone) And I used the process to make 3 more models and moulds the 3 part mould (my first ever) for an aardvark, an ape and a toad.
Arnie’s armature has metal nuts in his feet, they’re magnetic, so I can use magnets to secure the model when animating OR use ‘traditional’ tie down screws too (I’ll probably use magnets)
For the toad and ape I made armatures first so I can be sure they fit inside my models, they also have nuts in their feet for magnetic tie down

Arvins top half completed, hessian is added in layers of the plaster mould to add strength to the mould

Perfect £1 bucket for plaster, it’s flexible so dried plaster can be cracked off and disposed of, DO NOT wash wet plaster down sinks and drains.

Easily the best way of cleaning off moulds, I saw them doing this on Face Off with a hose, I don’t have a hose, but I do have a shower!

these clay blocks in the middle will form drainage pools so excess silicone can pool into these resulting in thinner edges on the model and a tighter mould.
Yesterday I cast the aardvark in silicone.

excess silicone edges/flash/sprue trimmed and bubbles cut out, I decided to patch the holes with more silicone
The bubbles were a shame so I had to mix up another batch of silicone and touch up and fill the areas.

Ears added on, they also have wire inside, a hole was drilled into the milliput skull and ear wire inserted into the hole, extra silicone added to add skin and secure the ear in place
The ears were carved from some left over silicone, I shoved a wire into them and drilled a hole either side of his head into the milliput skull, and inserted them afterwards adding an extra layer of silicone on top and around the base to stick the ear in place, the hairs are simply a hole pierced into the silicone and old thick paint brush bristles inserted, painted black..
Now to make the toad and ape. Will have to make the feet again for the ape as his model ‘locked’ in the mould and I had to carve it out so now his feet area have holes through to the top. This probably occurred due to poor decision of where to build my dividing wall for his feet as such his toes were wider than the space behind it and once the plaster had set I had sealed his foot in a chamber it couldn’t pull out of.


