
For my current ongoing project Jungle Tails I’ve stepped outside my comfort zone on a few aspects to broaden my skill set, one of which is puppet making.
Taking my previous experiences into account working on Tyler Tigers first birthday
[youtube=https://www.youtube.com/watch?v=gUzoKGdqFrU&rel=0]
I knew clay models would melt on set under my studio lights, this means I would need to seek out alternative materials or clay compounds if I wanted my models not to warp and melt so much in the heat. This leaves Foam Latex and Silicone as the main go to materials for making puppets, I’ve never had the chance to work on silicone puppets before so decided to jump in as it was cheaper to start with than foam latex (from what I understand the foam latex would see me through further but has a higher upfront cost than the silicone). Foam Latex is very smelly to work with too, smelling something like gone off omlette, and so requires more care and dedicated equipment so I opted for the less smelly silicone.
I’ve also been watching a lot of ‘reality competition show’ Face Off where special effects make up artists compete to create special effects makeup pieces for films (and sometimes other theatrical displays) to a brief over 3 days. A lot of the processes and materials are the same for stop motion models, so I researched the materials they’re using which led me to try and find the UK equivalent brands too many online tutorials are based in America so it can be an issue figuring out what the products are and their availability in the UK.
2 of the main products used are ultracal casting plaster (UK equivalent is Crystacal R) and WED Clay no one I spoke to knew of WED clay but I did find some for online sale.

Staffordshire University were able to supply a big bag of Crystacal R for the best price (essentially no shipping fees which on 25kg bag of specialist plaster is huge) They also kindly lent me the trolley to get the bag home!
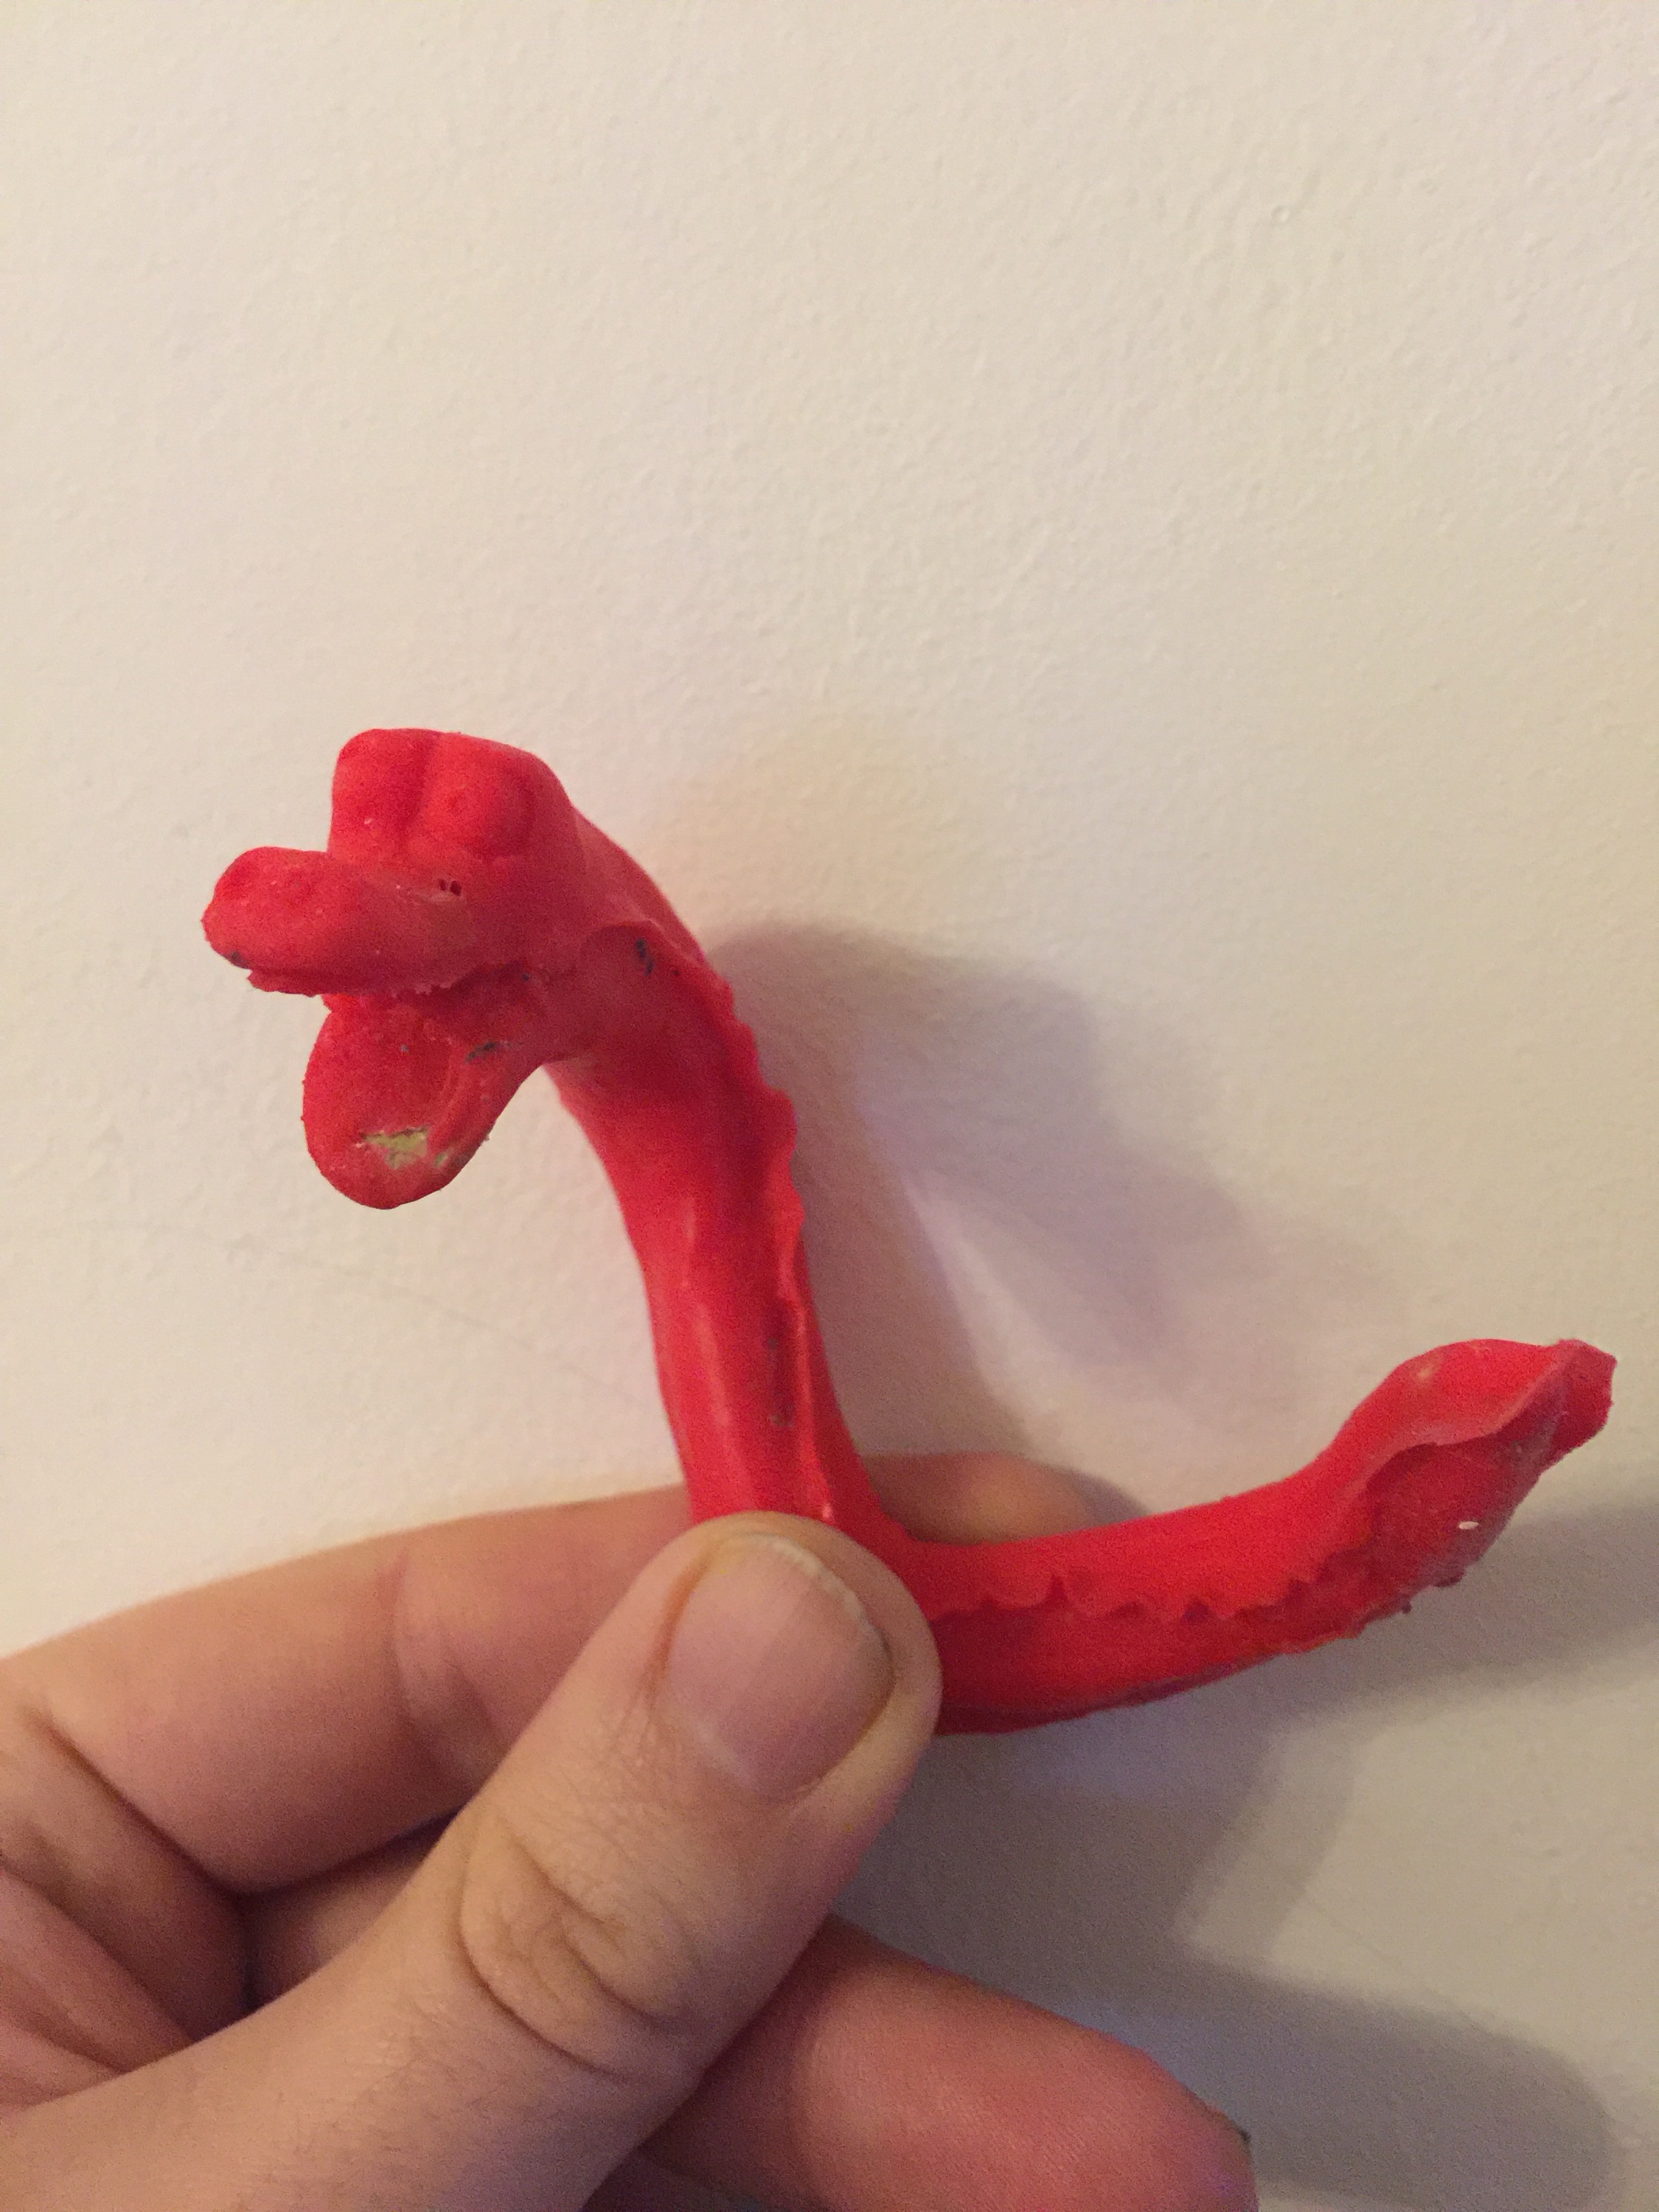
The WED clay is used on face off to model their prosthetic appliances where they get very good detail, the models I’ve made this time are quite simple and small and I made the first model for slinky the snake in this material.

Slinky Snake modeled in WED clay with a dividing wall , I didn’t use this exact model in the end but it’s as good a representation.
looking at some recent tutorials for silicone casting I saw the use of Lego as reusable support walls to keep plaster in and moulds tidy

Here is the first half mould Imade in crystacal, casting the top half of Slinky into ‘stone’

The top half was cast then the mould flipped, supporting clay removed and the other half was then cast

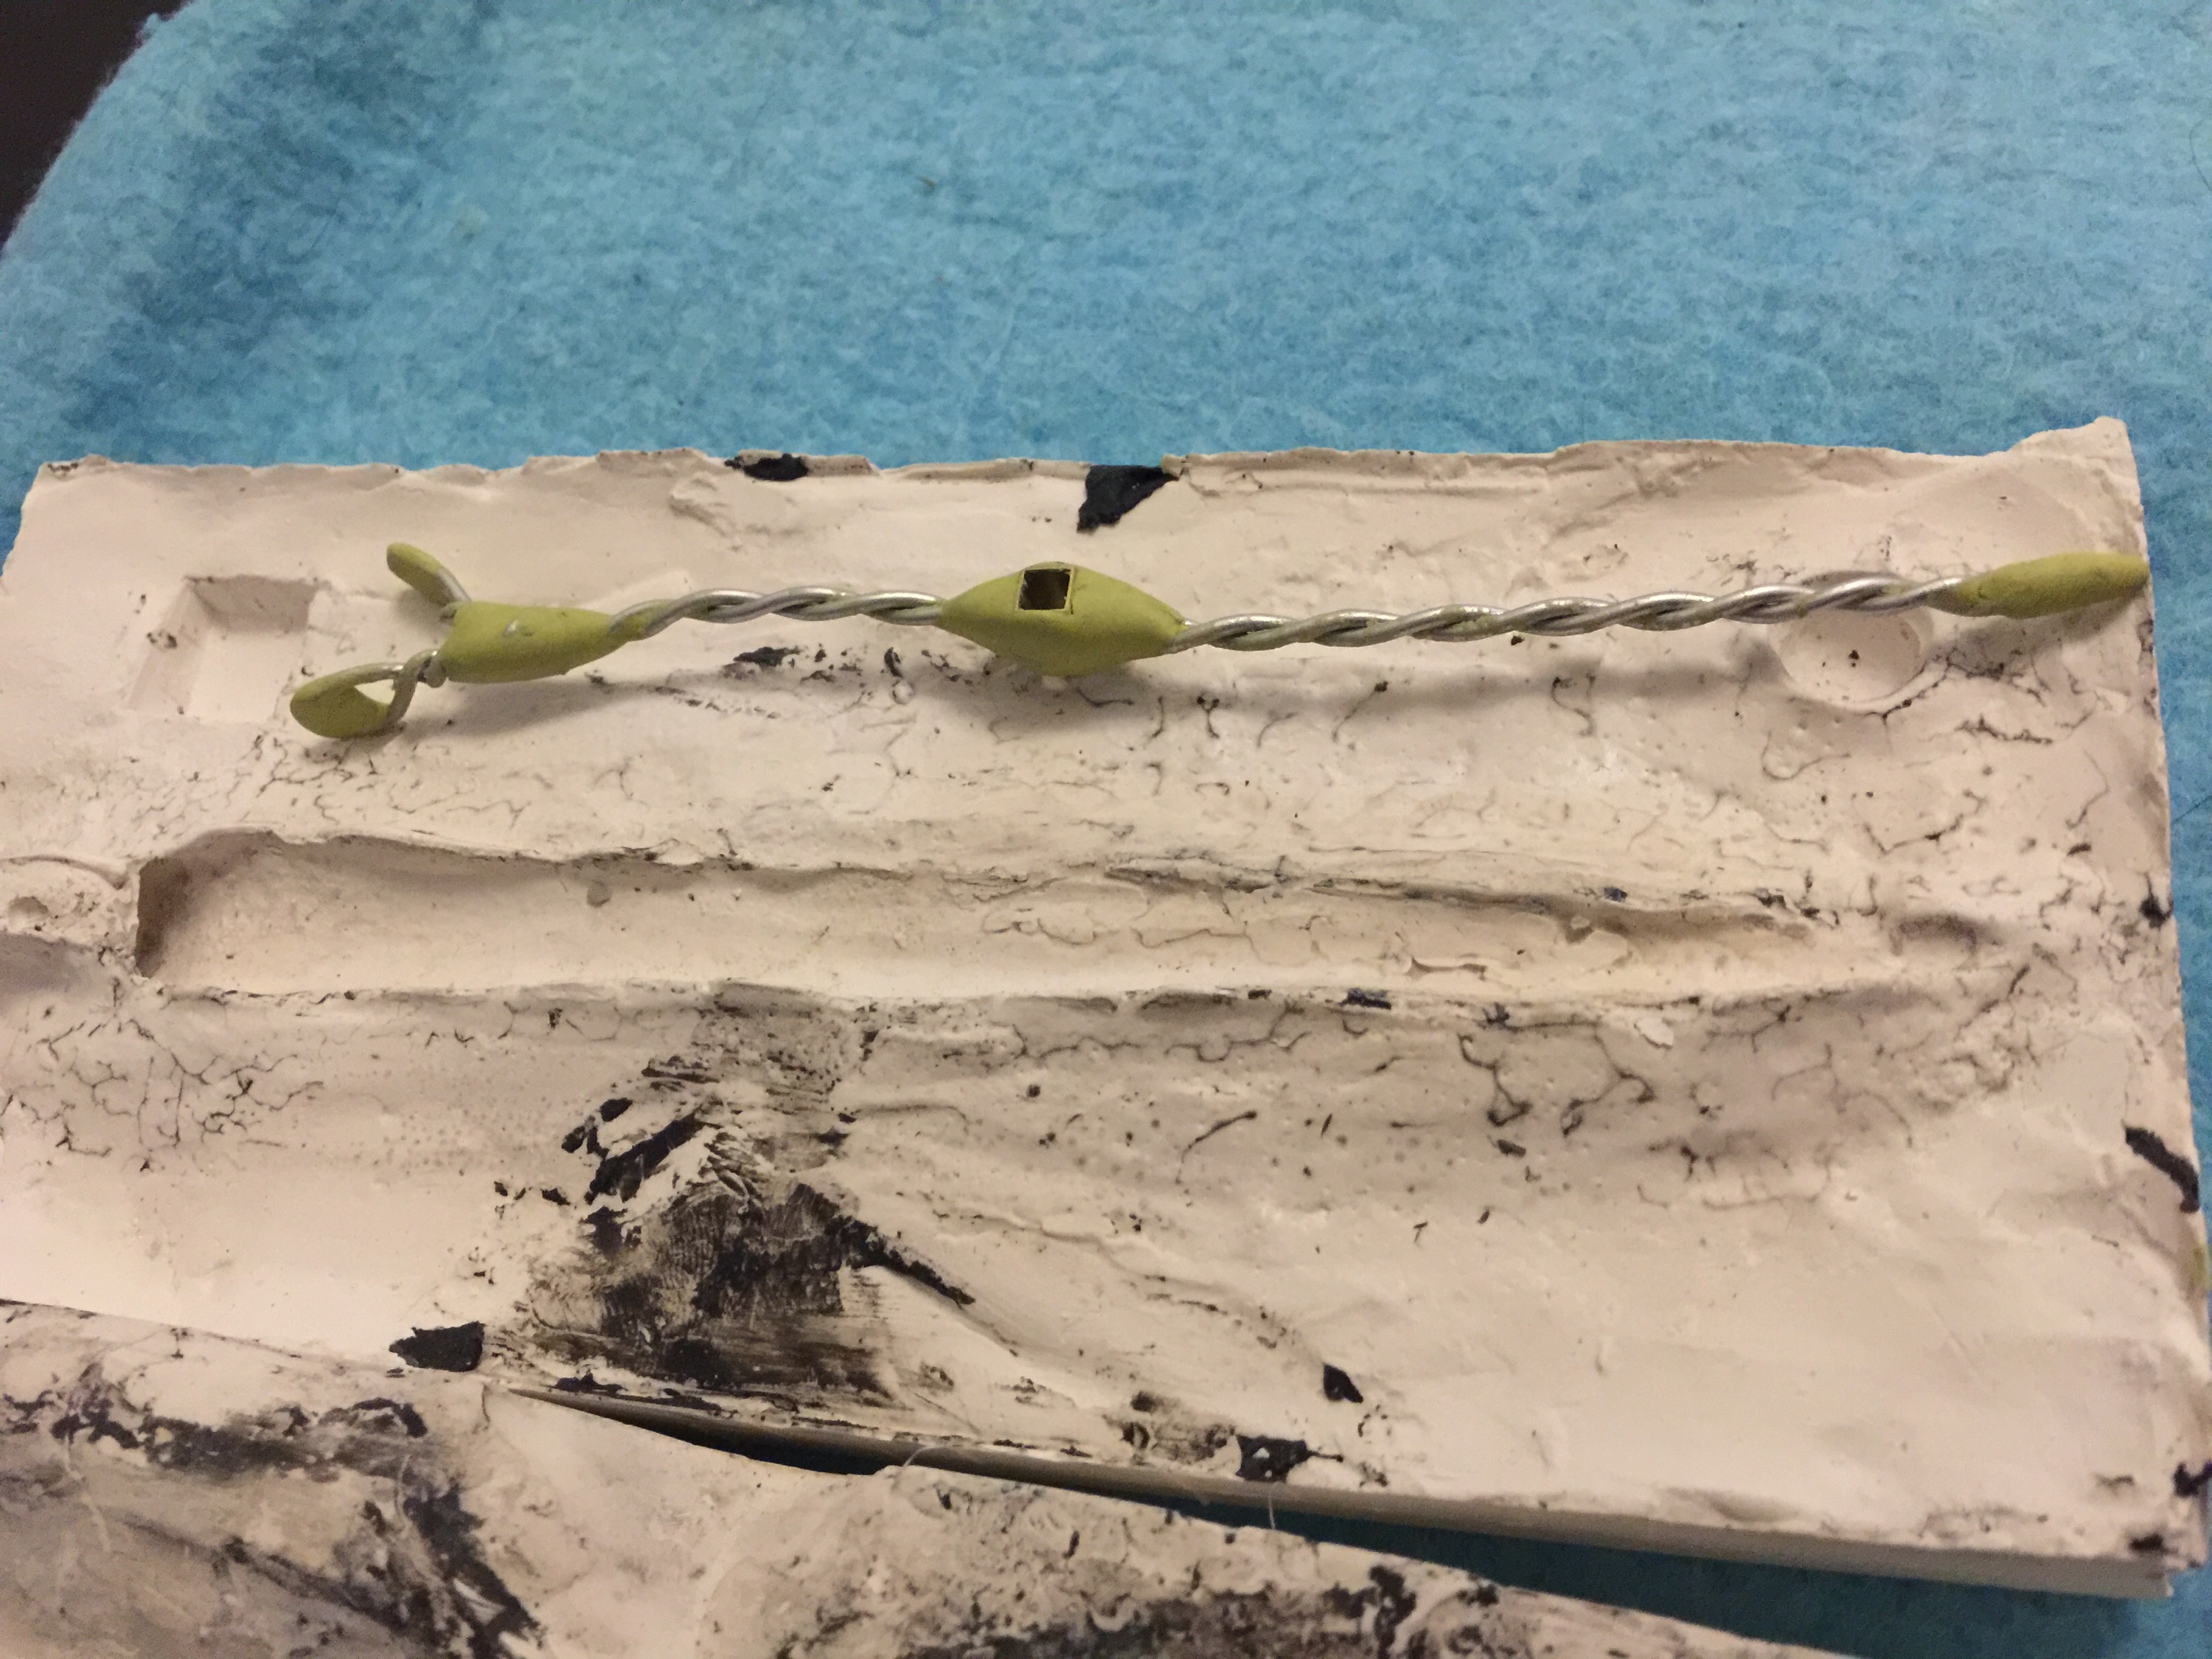
Slinkys mould came out well, the black marks are where i decided to use plasticene modelling clay to support the wed clay figure, I now know it’s better for stop motion to work the other way around and use the WED clay to support a non air drying moulding clay like super sculpey or what i now own chavant.
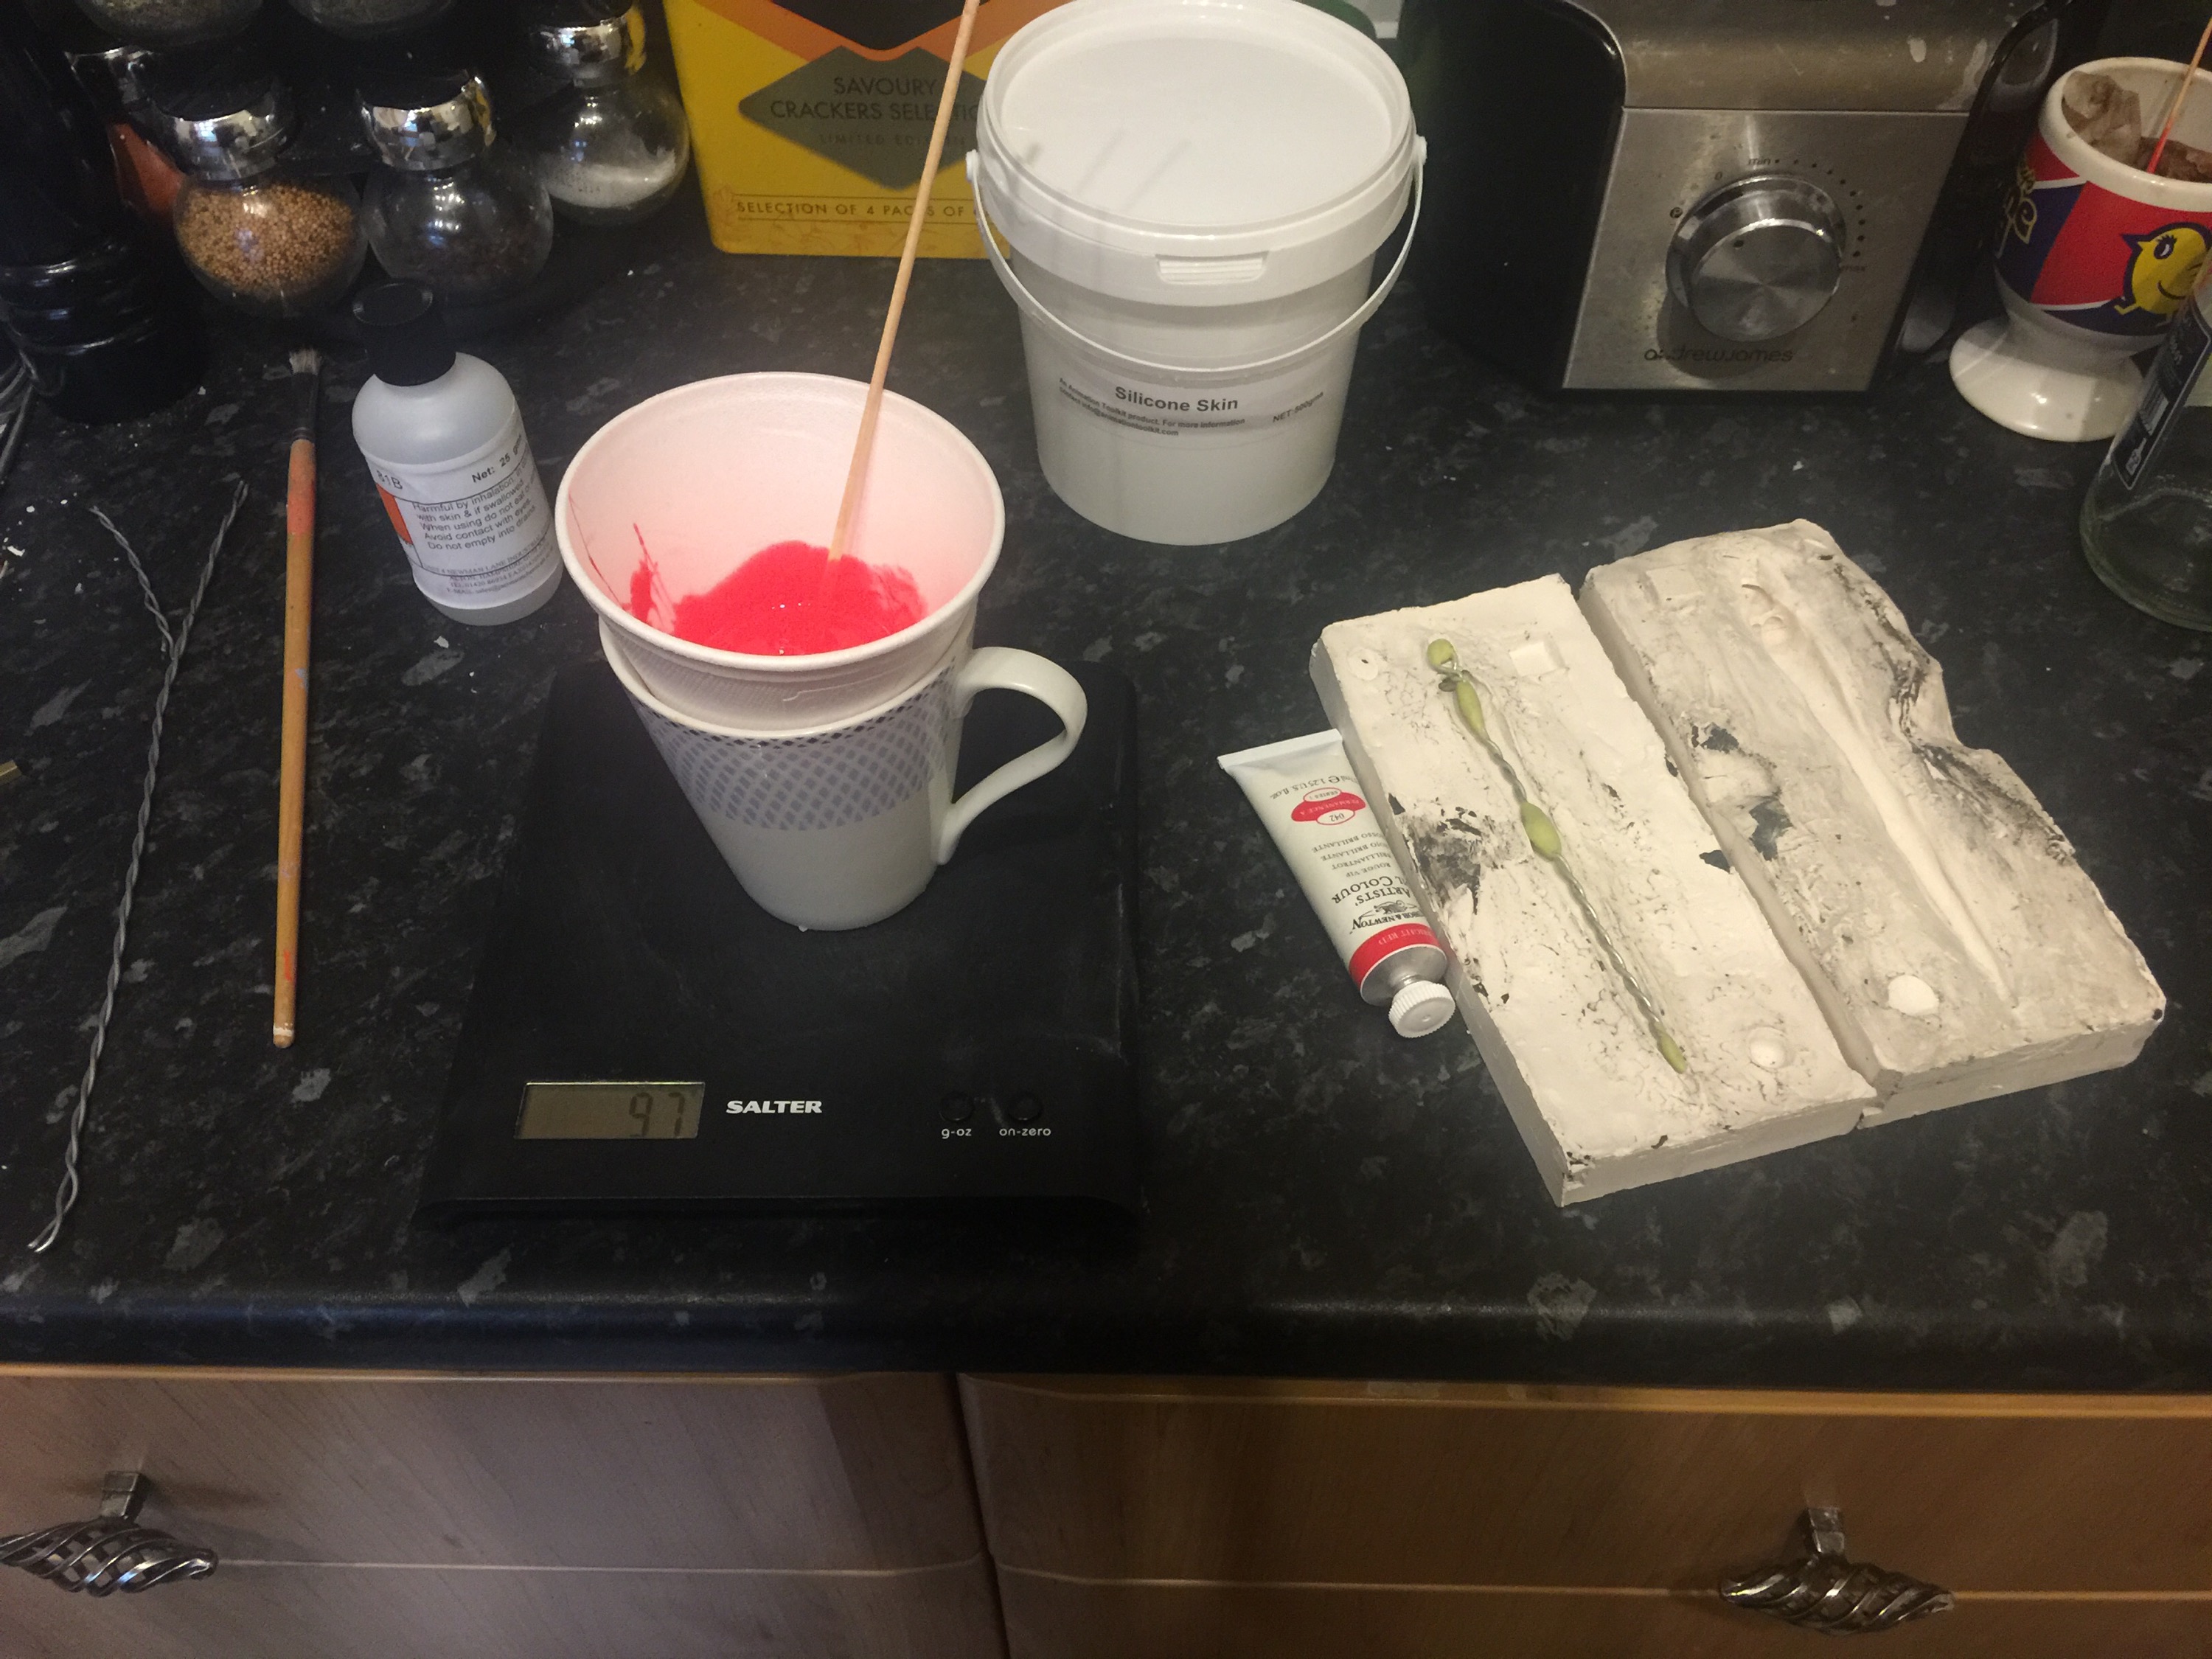
As previously mentioned I have never worked with silicone and was expecting to have some issues like I had with liquid latex, I pre tinted my silicone with a little oil paint, mixed to instructions, painted it into details on the mould, poured in more silicone to both halves, laid in the armature I had made, sandwiched the two halves together and prayed.
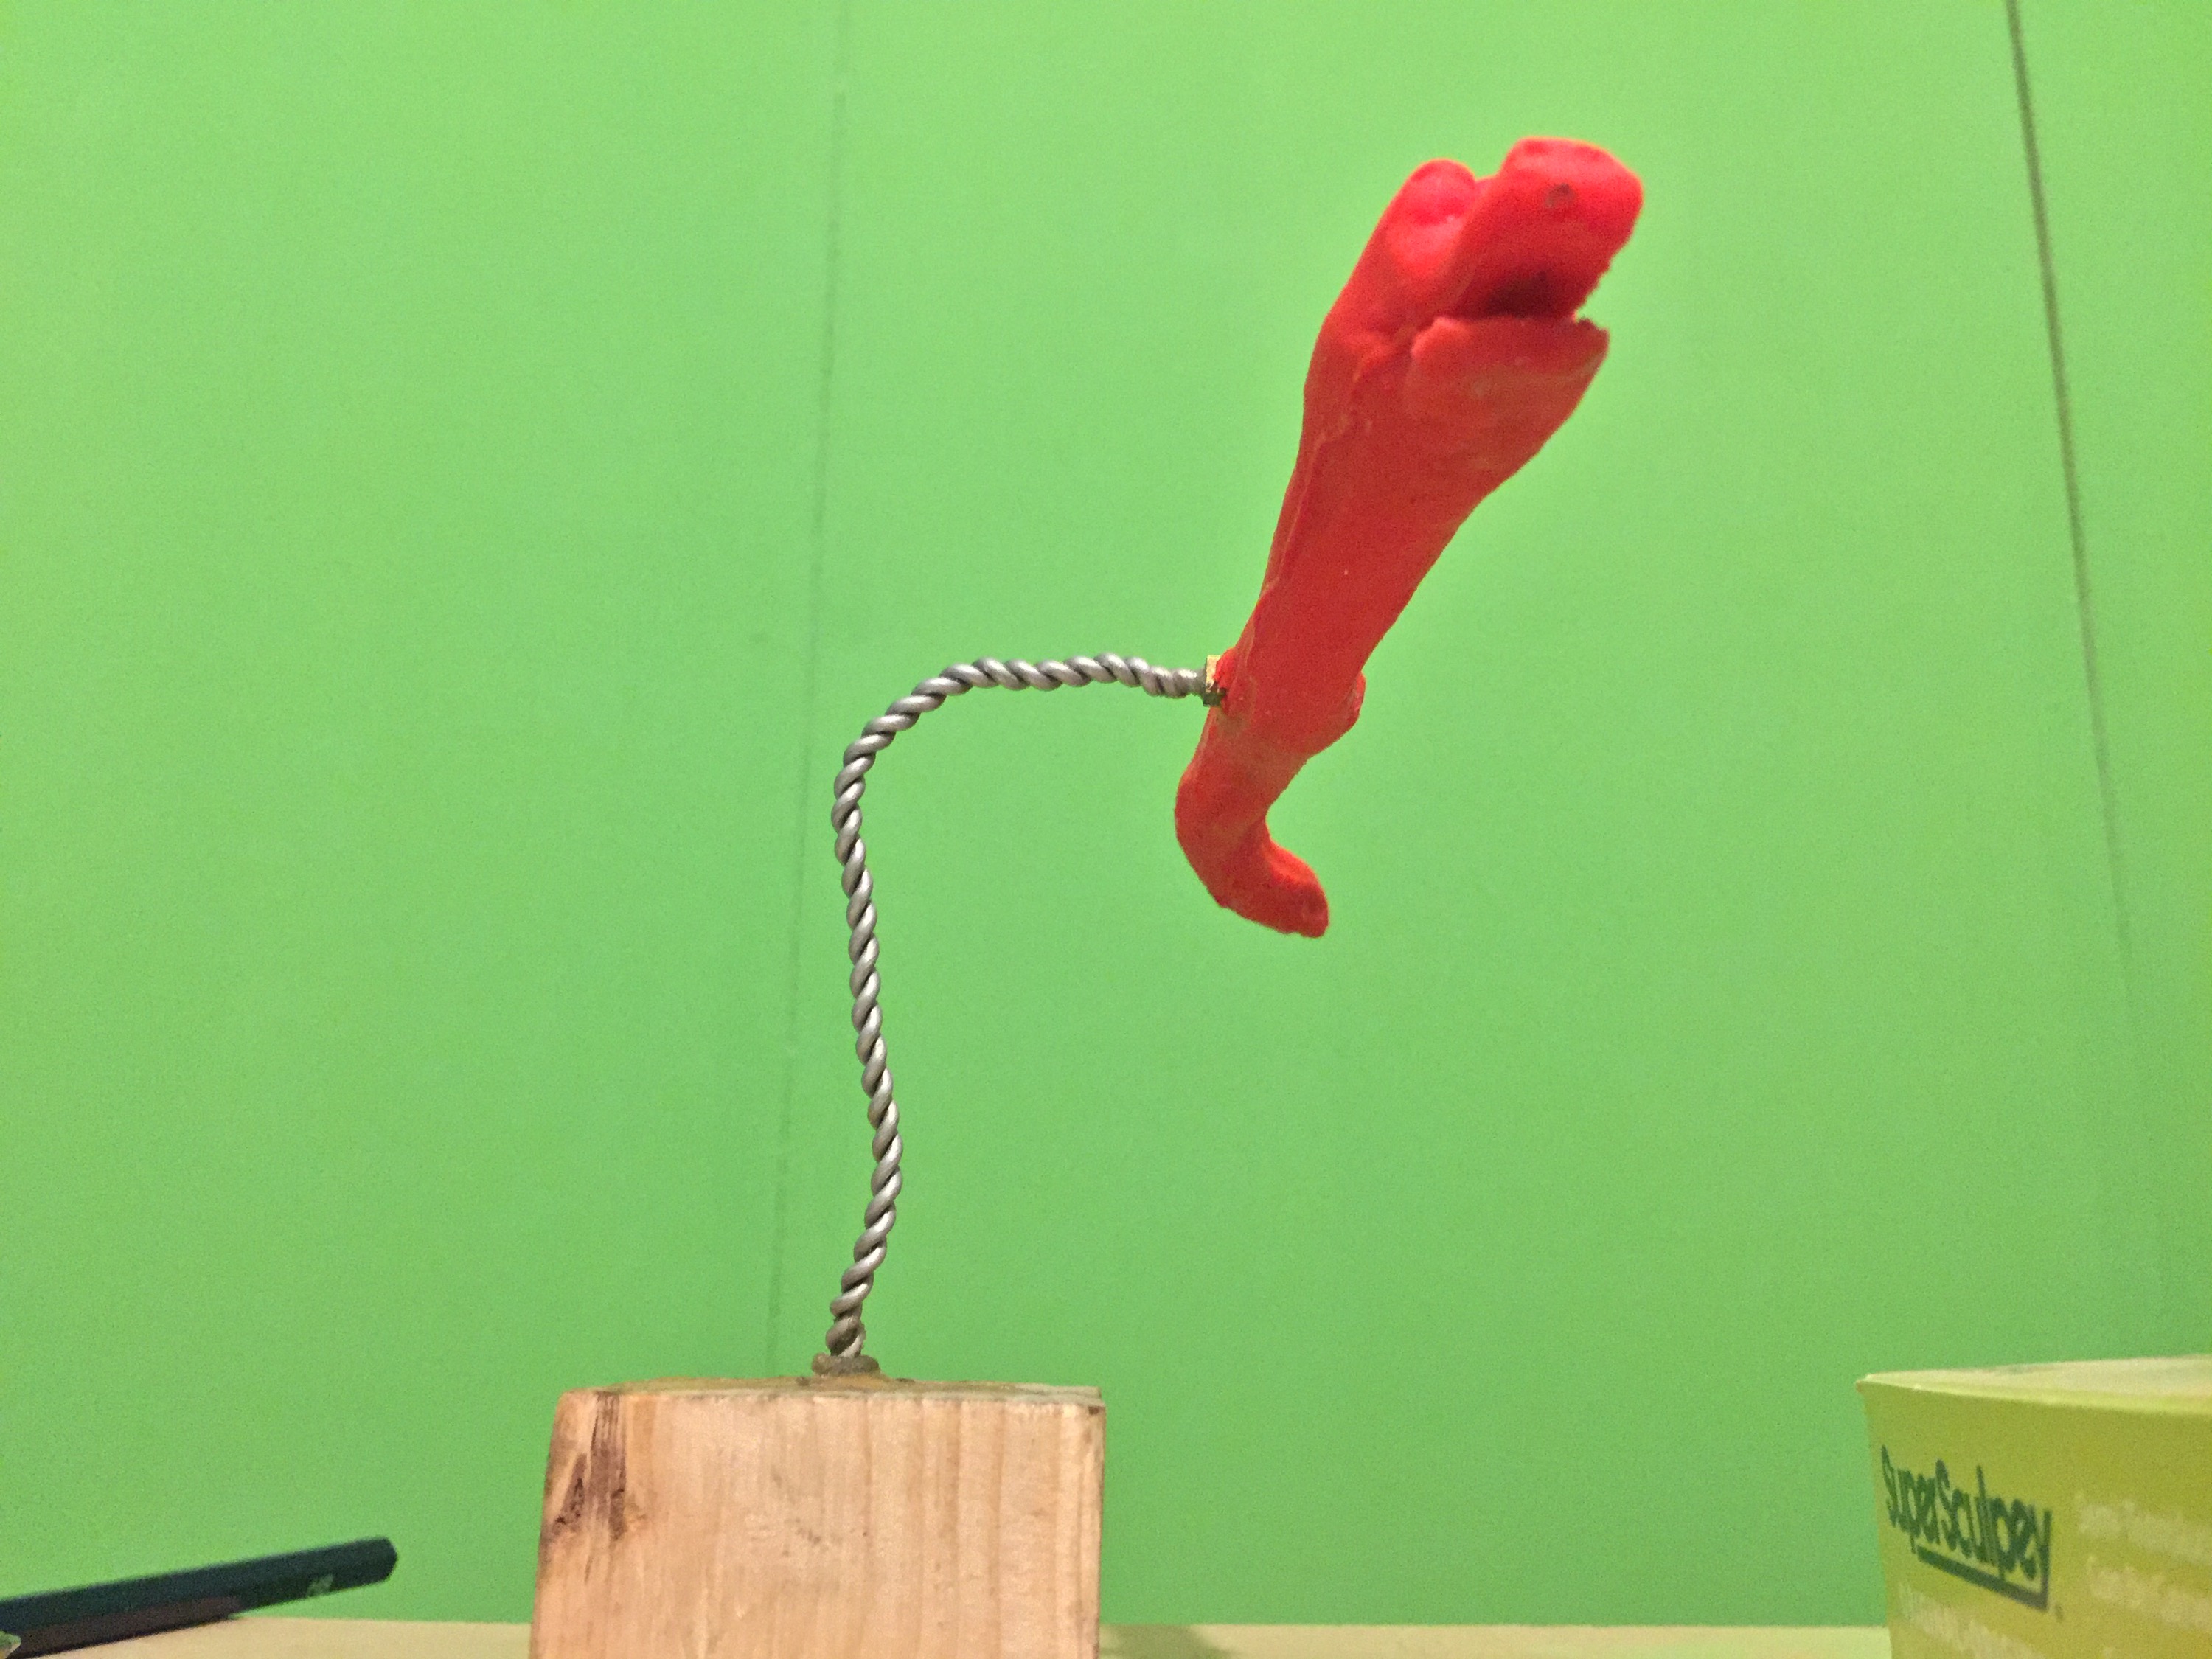

Surprisingly I was very pleased with how my first model came out, it had cured well, details remained and armature inside worked well enough.
[youtube=https://www.youtube.com/watch?v=xxQazKXR-Wg&rel=0]
However I had issues with attaching the eyes so decided to recast the model with a solid headpiece with the eyes embedded in sockets already so I could easily move them with pins later on.
Beginners luck had struck.

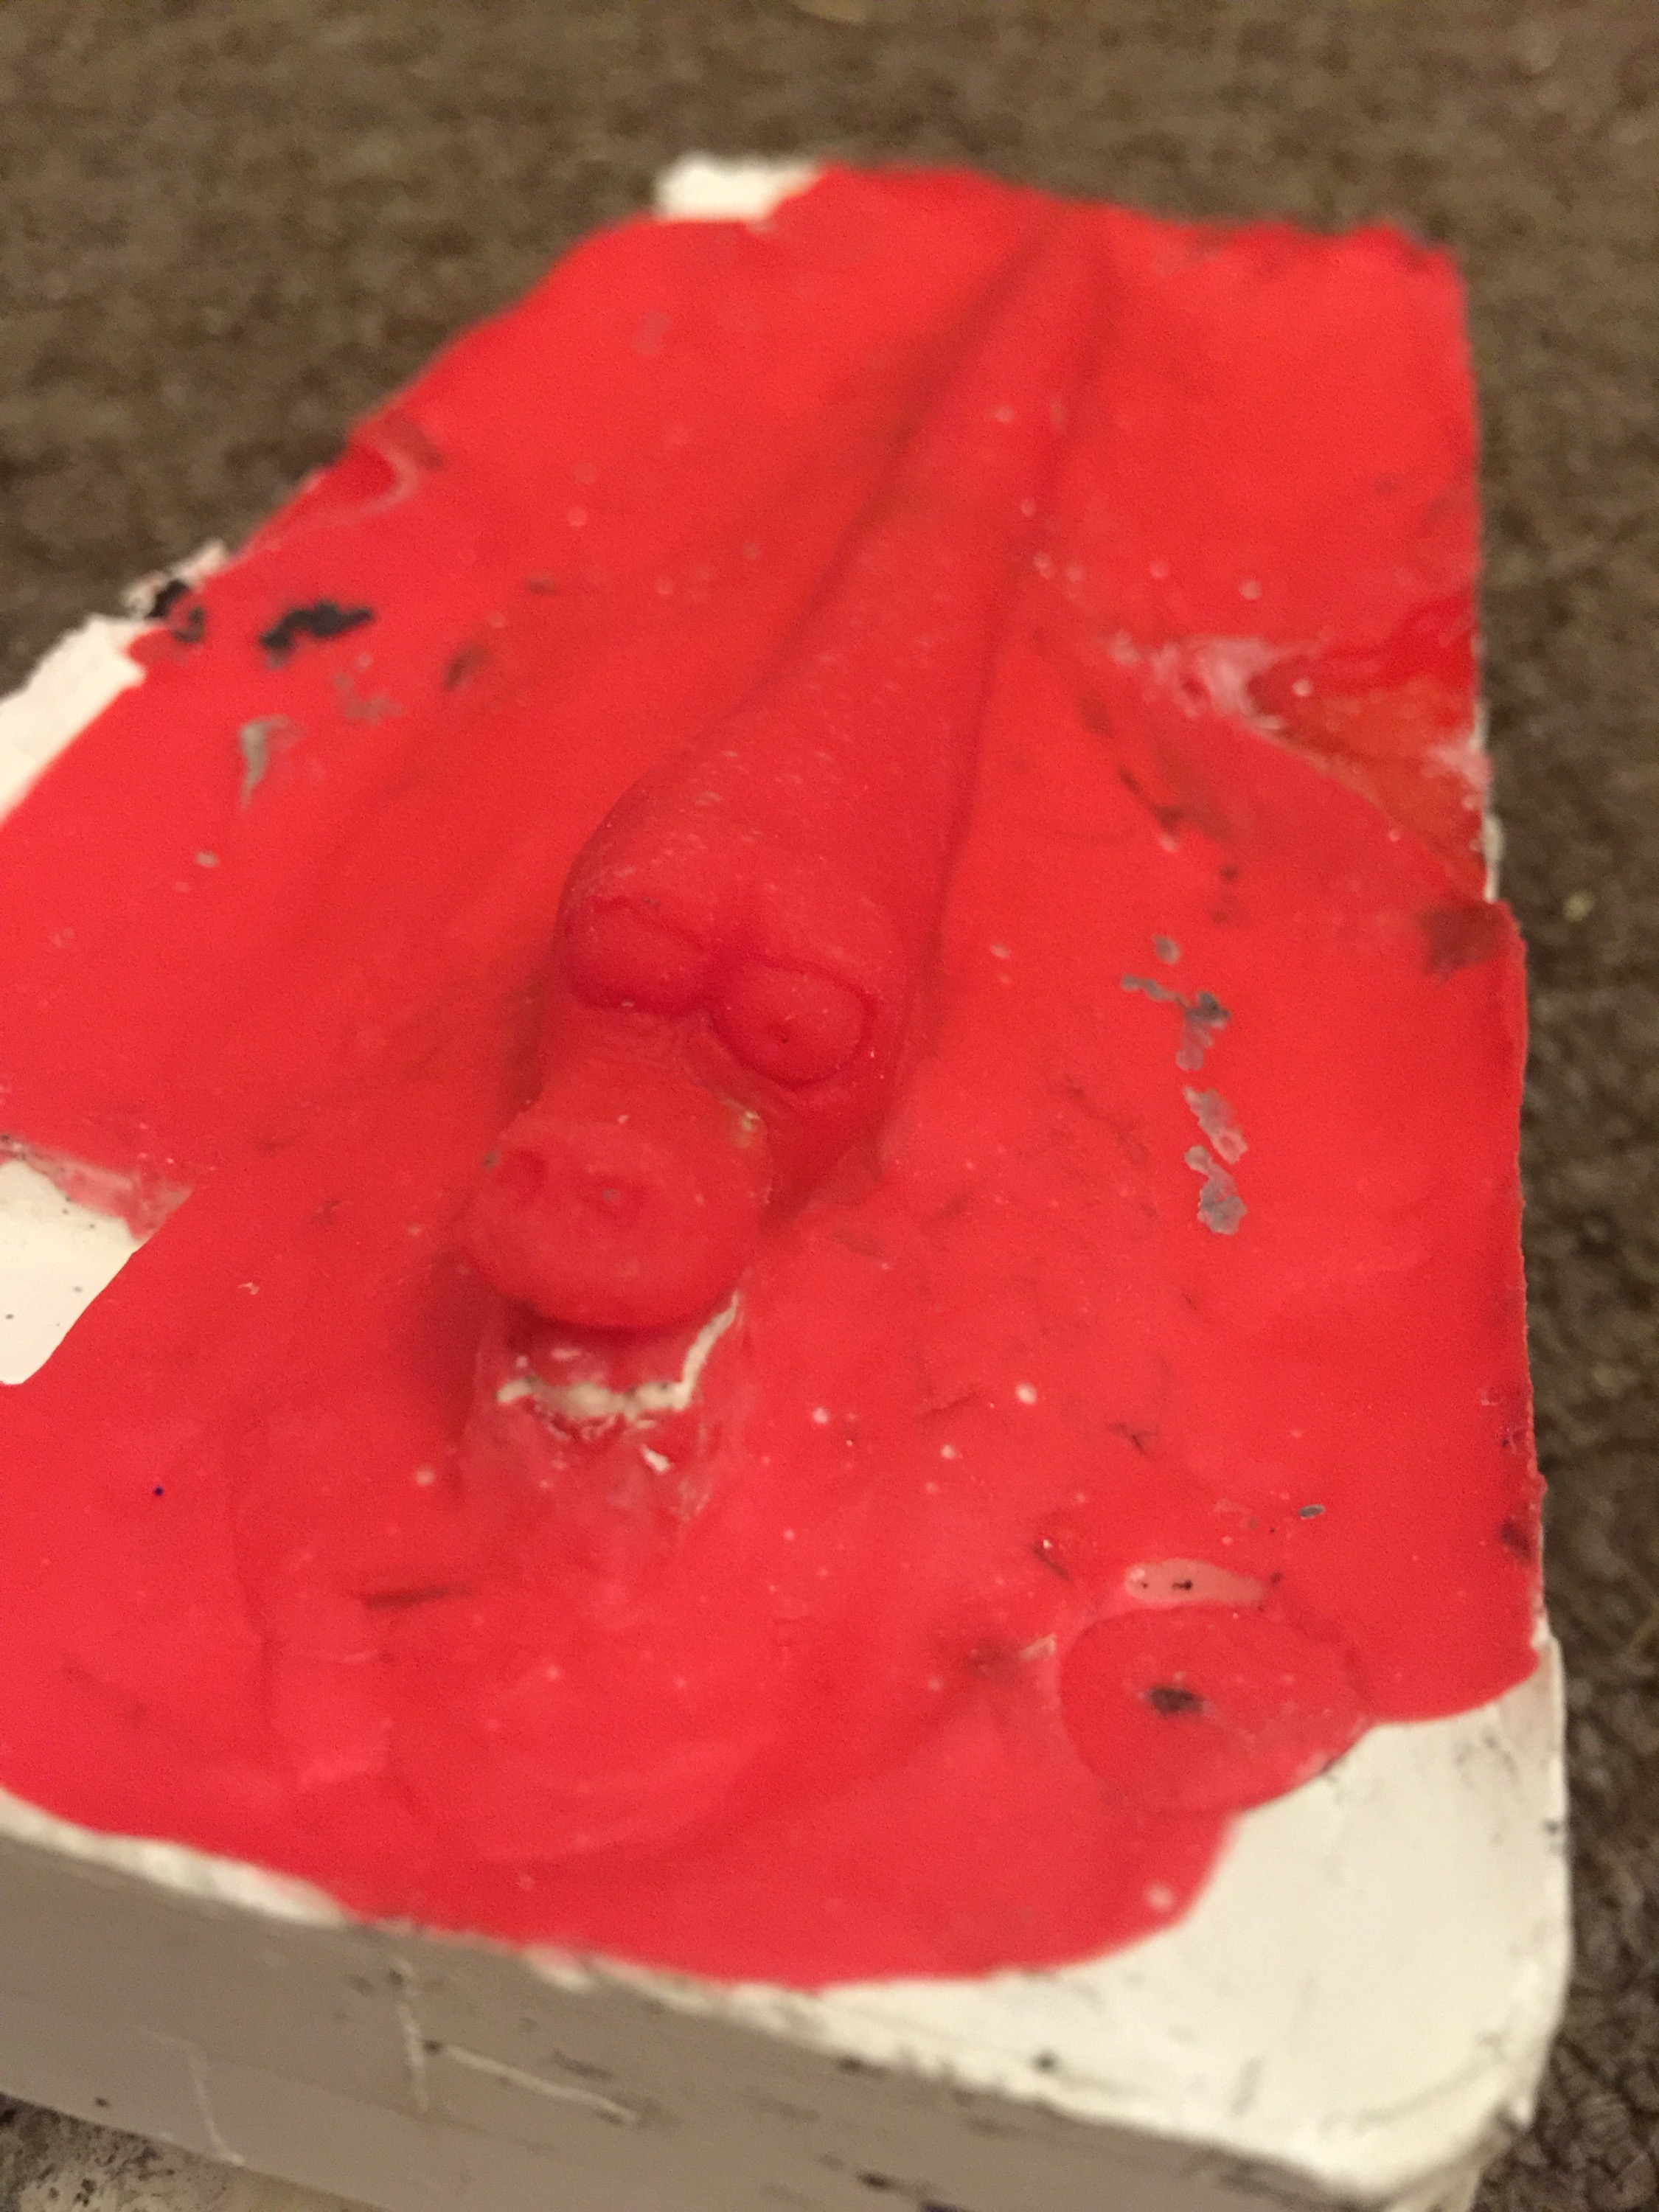
Slinky didnt cure this time and came out goopy and gory looking! KILL IT NOW
This second model did not cure at all!
Some research later I discovered I could clean the mould out with white spirit, it worked really well!
At this point I took the opportunity to sand down the edges of the mould as it had sharp edges and was easy to cut or scratch myself and my surroundings, and possibly lead to ripping of the model.
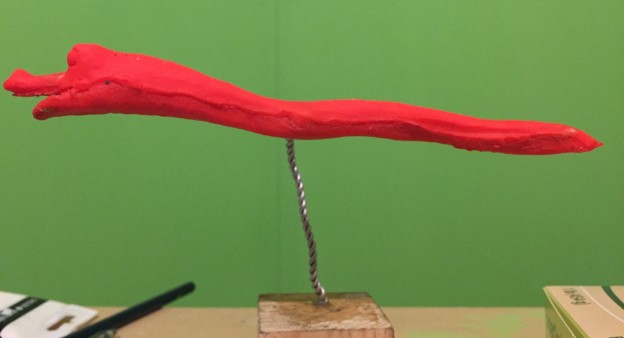
Time for cast #3 I added more catalyst this time and that seemed to have worked well and the silicone cured very quickly, the eyes move in this new model but still required some touch up where silicone was thin/torn and edges tidied up where I’d cut them.
Learning from the first cast I also filled in the support mounting hole in the armature with clay as the first time I had neglected to do so and it had filled with silicone and required tricky digging and cutting out in order to locate the support mount into his side.
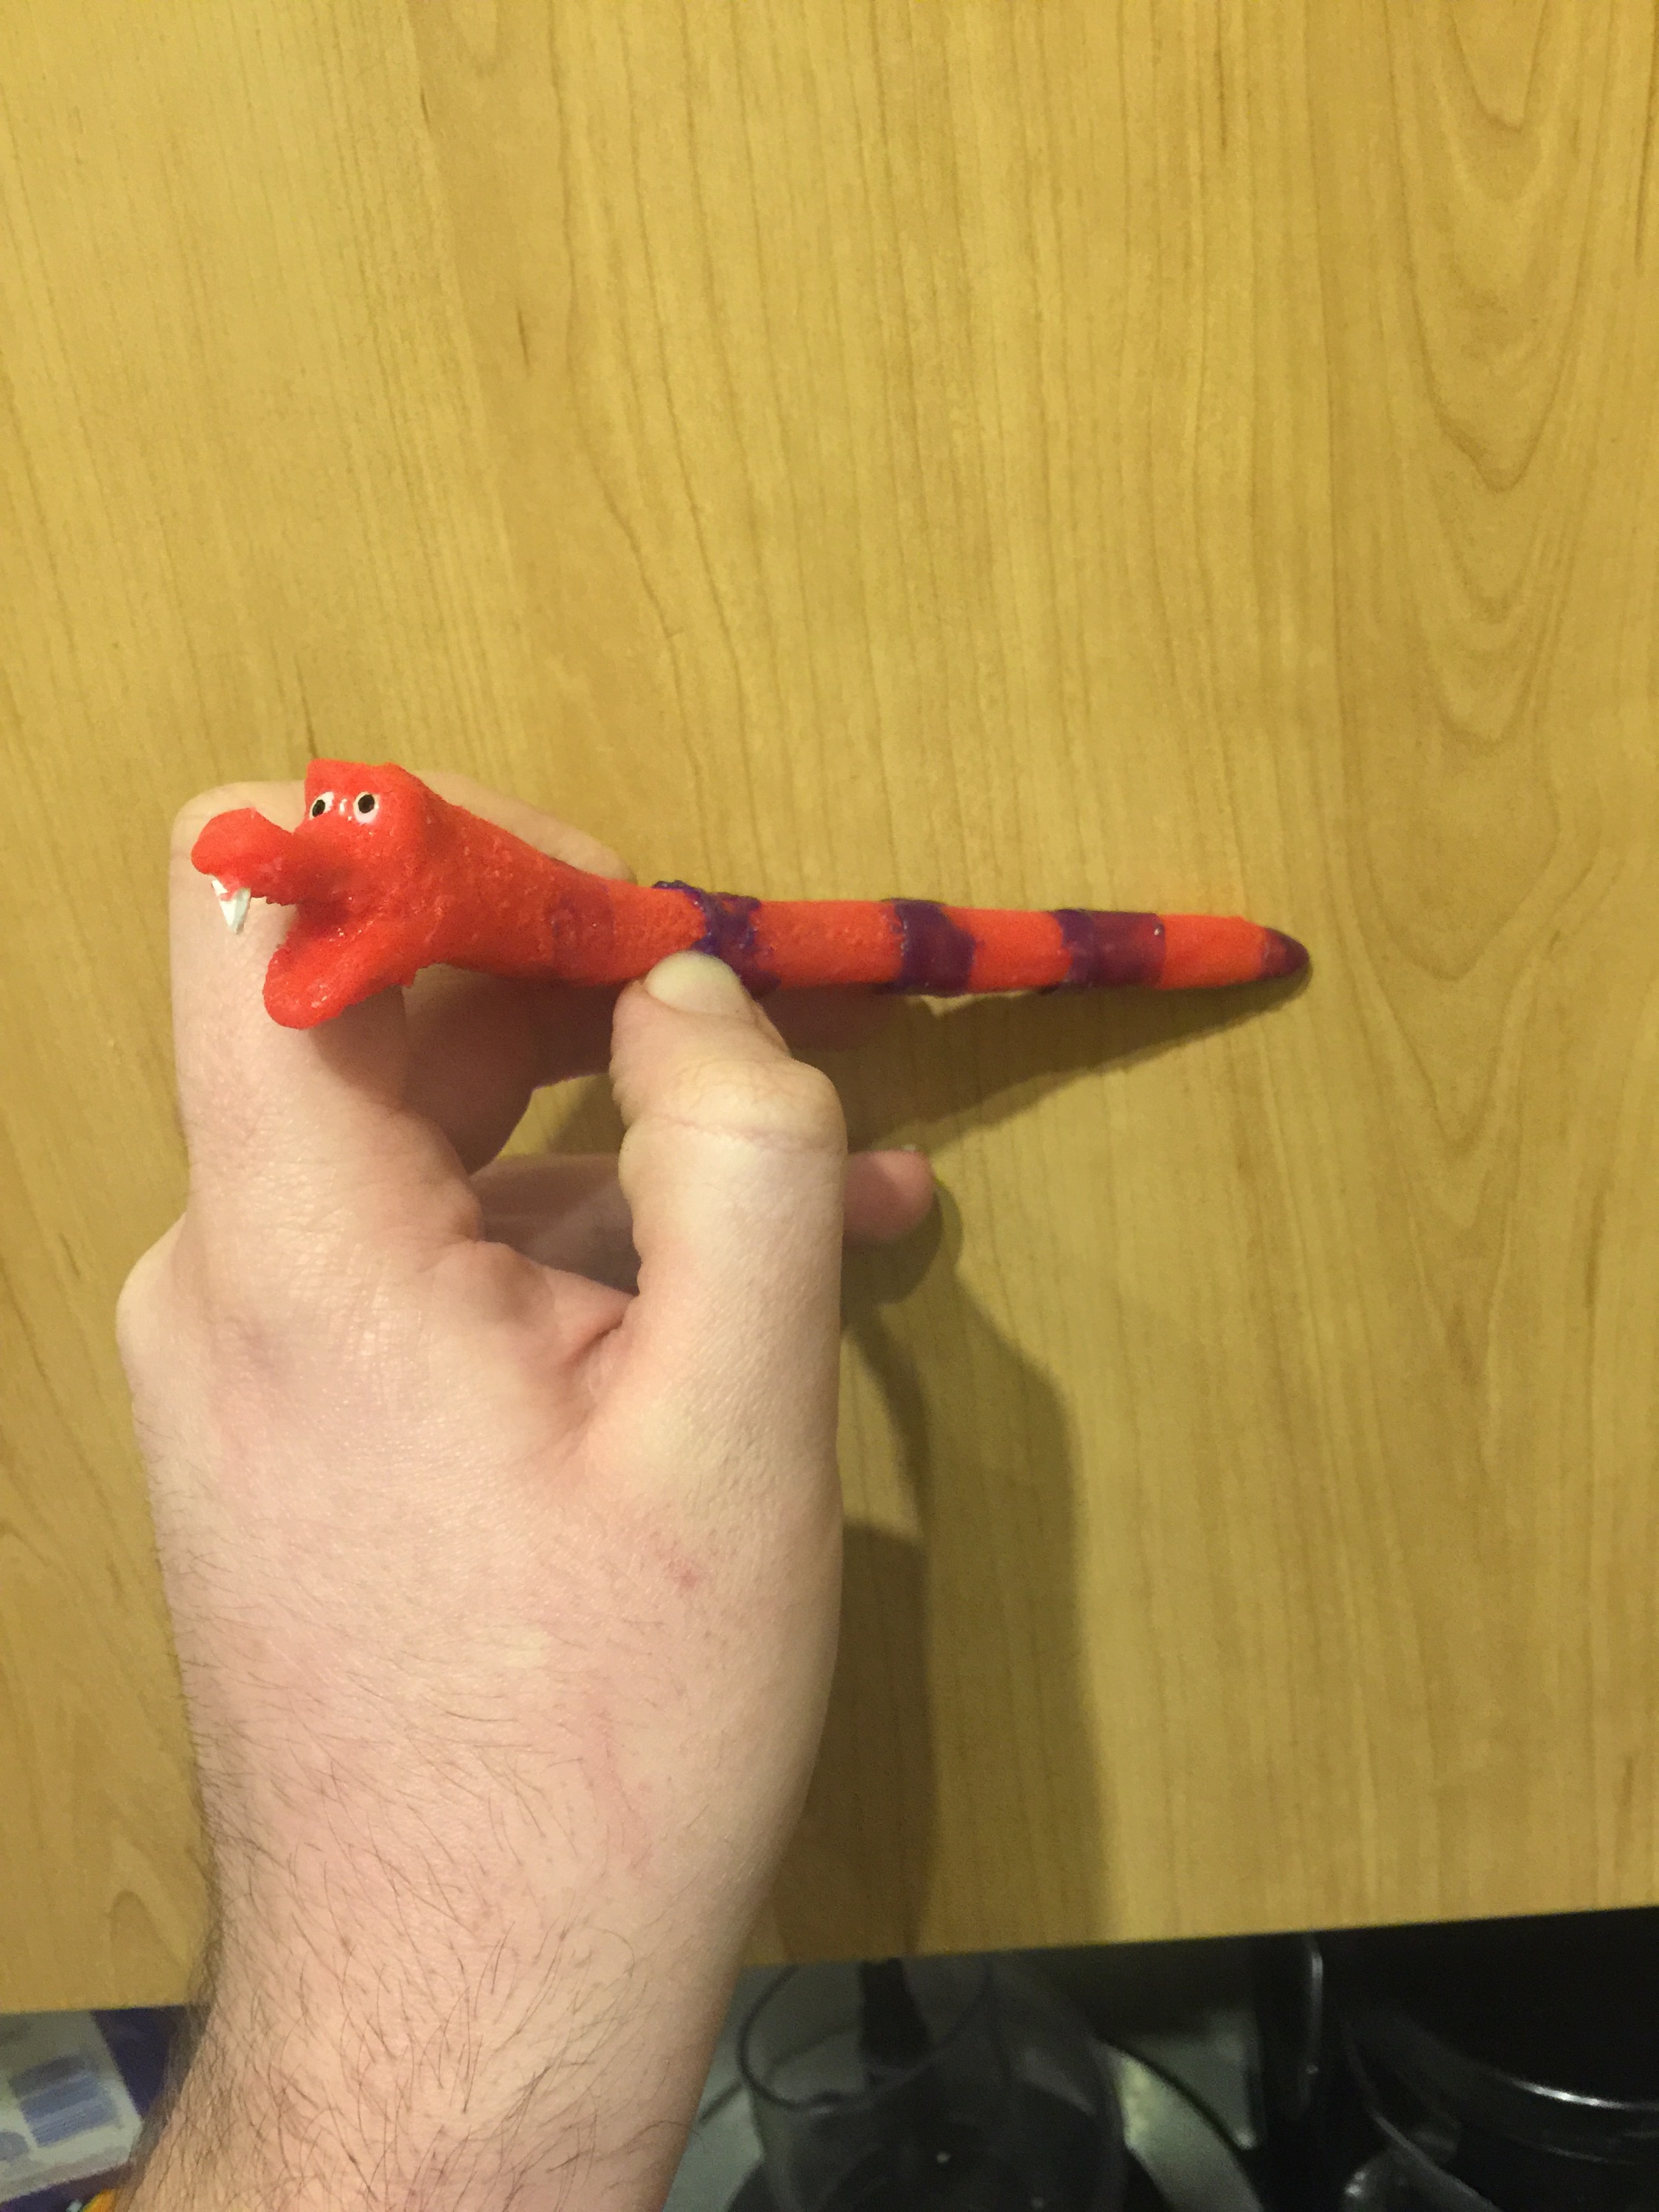
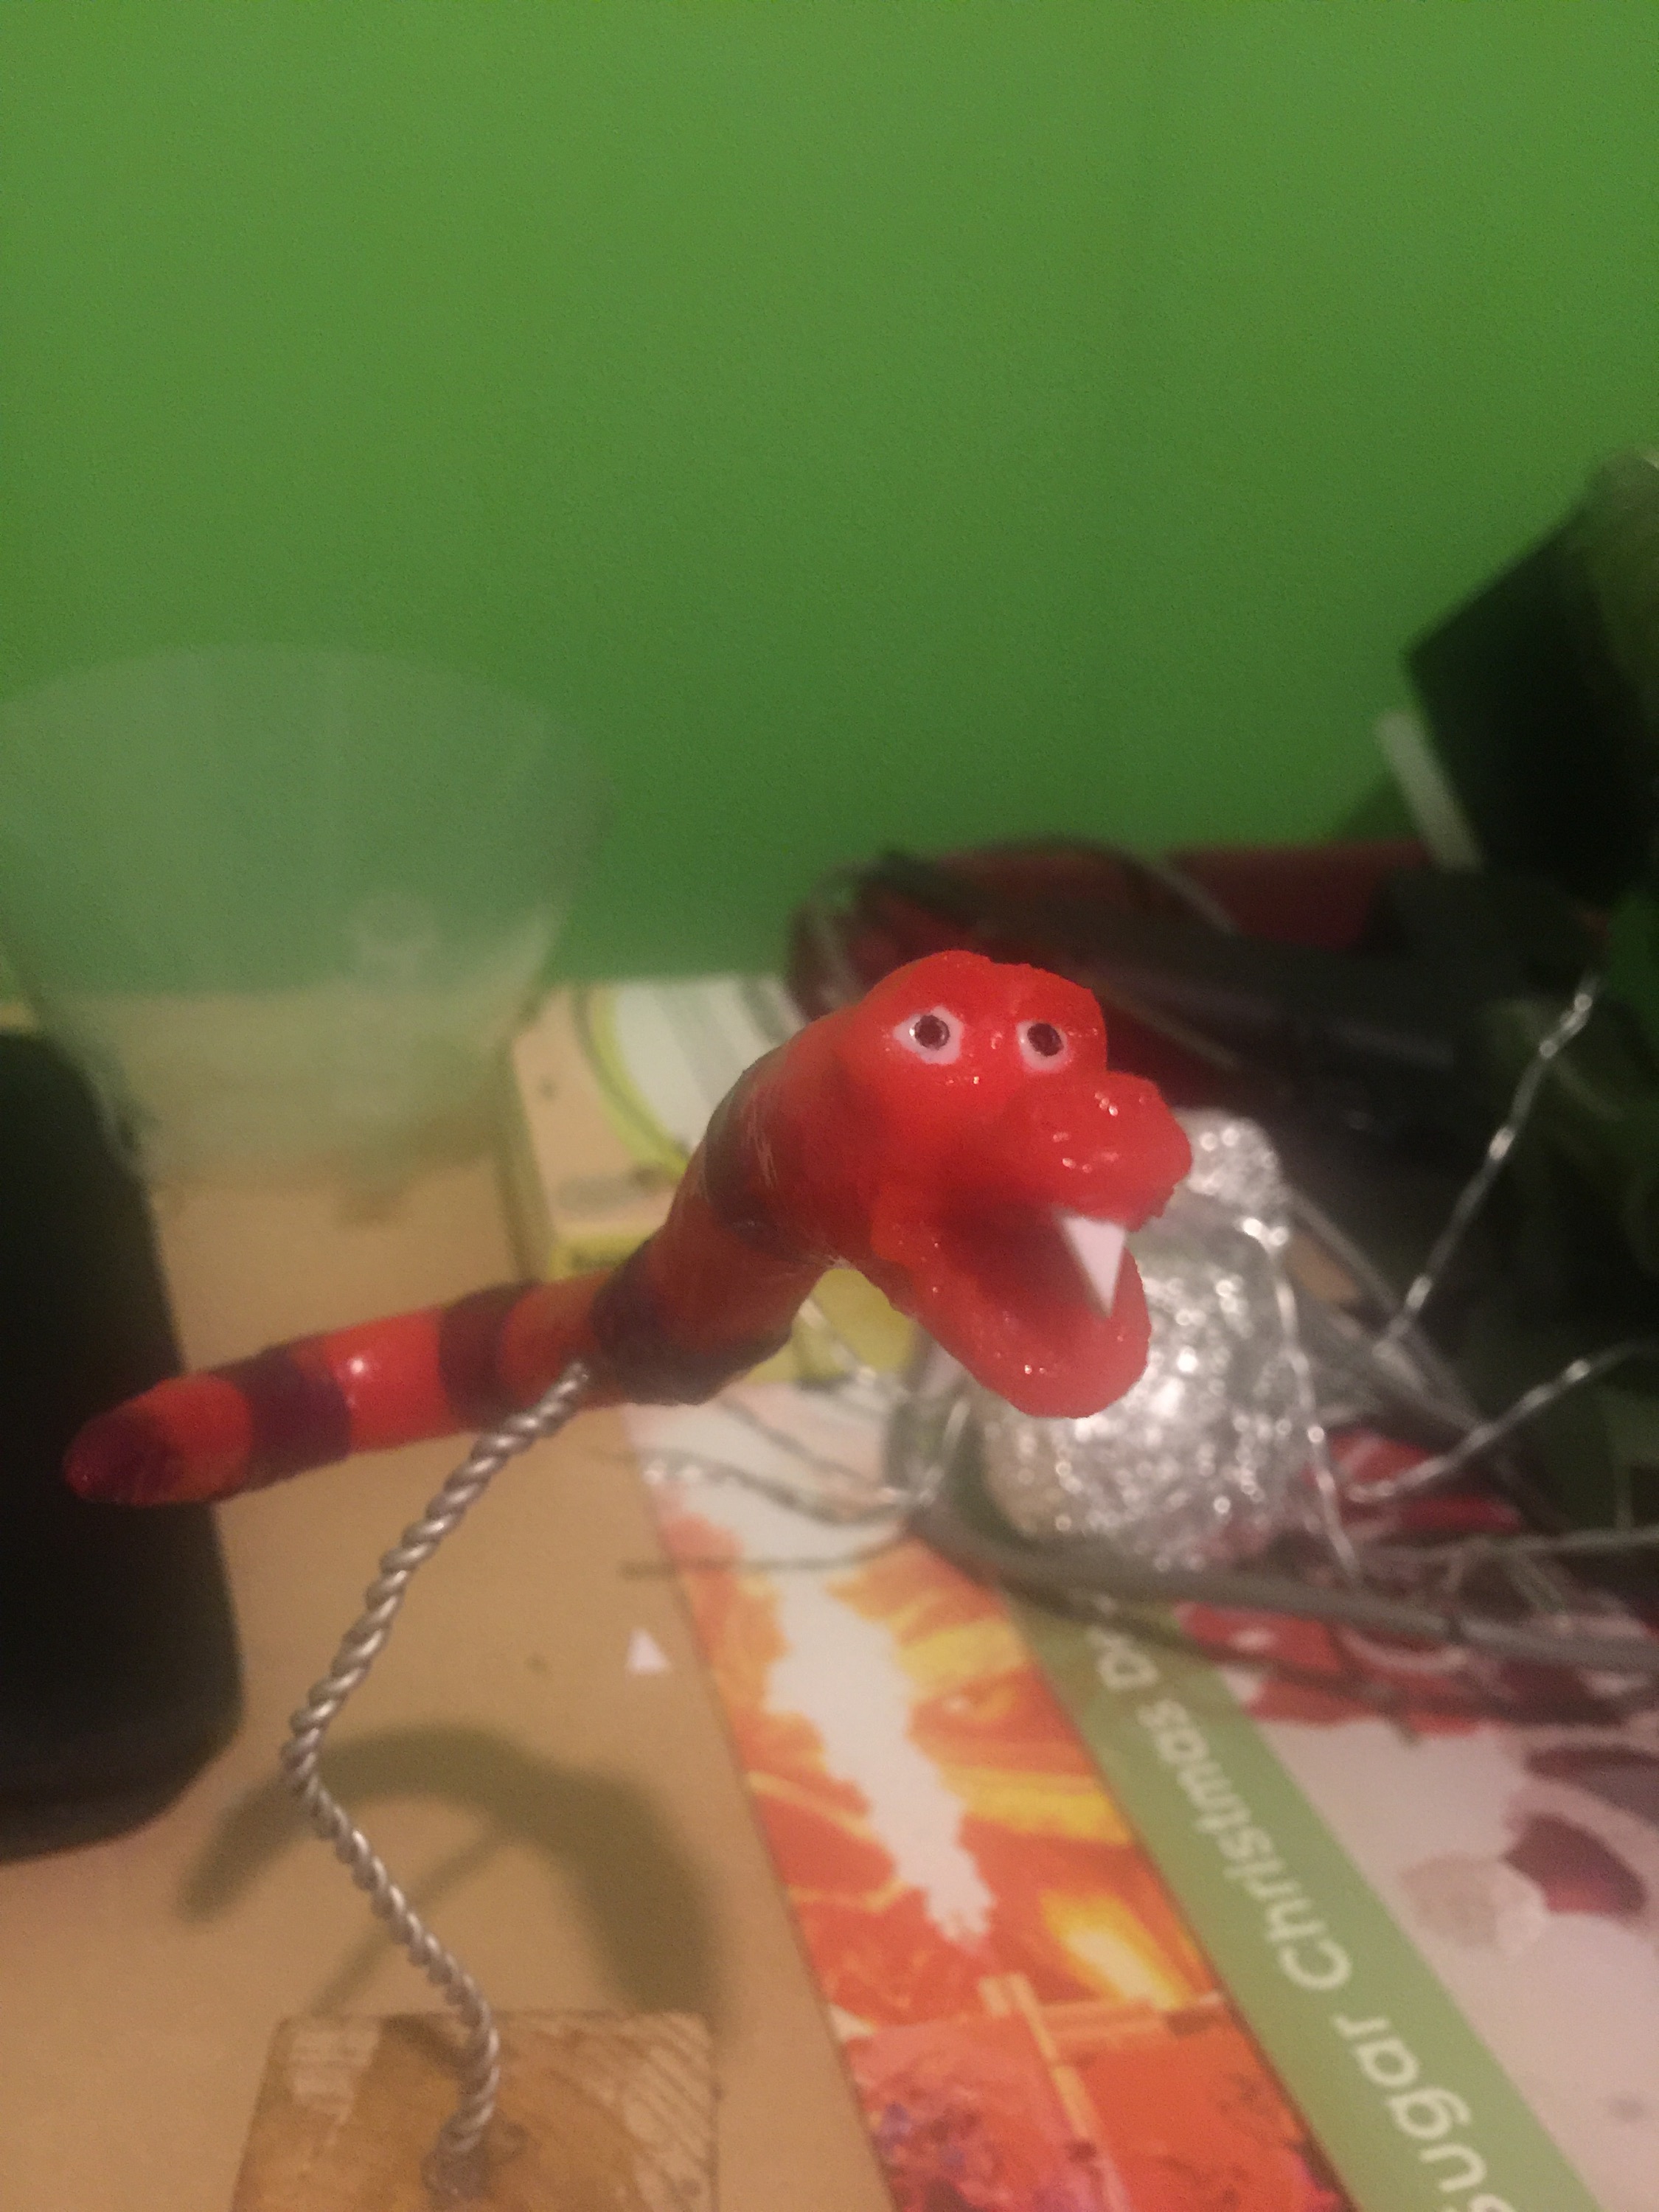
Some detail work later and this is most likely the model that will appear on screen. I need to work ALOT on painting with silicone, as currently I’m struggling getting the correct mixture consistency before it cures and becomes gloopy, I’ll need to look into special effects makeup tips I think.
Silicone is definitely something I will continue to use for future models and with practise I can only improve my skills with the material.
Since draft writing this article I have discovered a recent tutorial on silicone puppet casting where the sculptor is very detailed and descriptive of his process on a simple model and mould. He uses chavant modelling clay to sculpt the model first, you can heat it with a small blowtorch to soften it and smooth out details and add fine touches then surround and support the model with the softer WED clay for casting, you can then recycle this WED clay after the mould making has been completed.
I’ve also got some more tips on working with and painting silicone.
My next model will be an aardvark also for jungle tails, and I may need to create a 3 part mould, again something new and scary to me, I will be trying out some of the tips mentioned in this other tutorial I saw and feel a little more confident in the whole process and materials I have.
Wish me luck, currently I’ll take any luck it helps!